 Save Pin
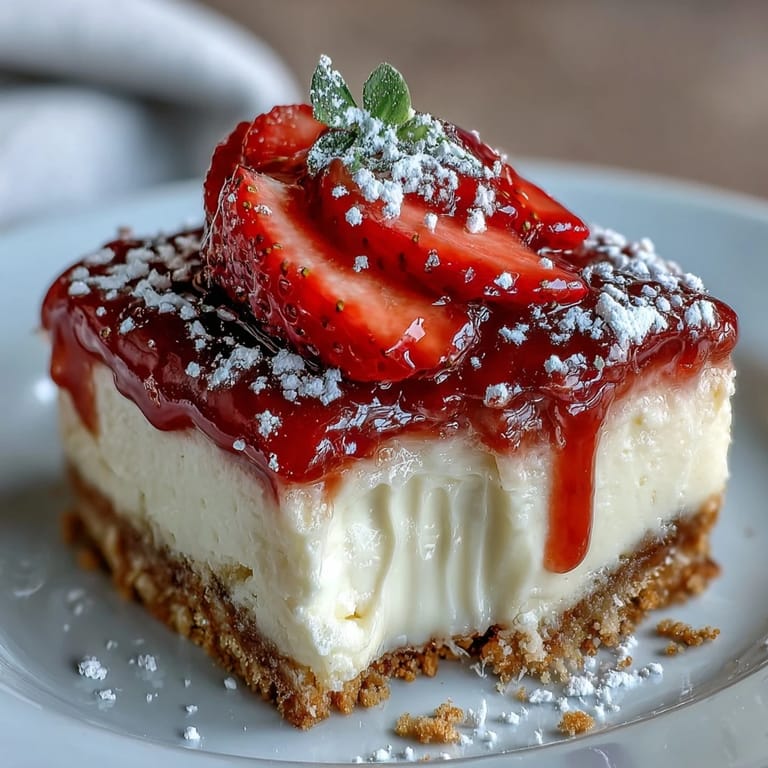
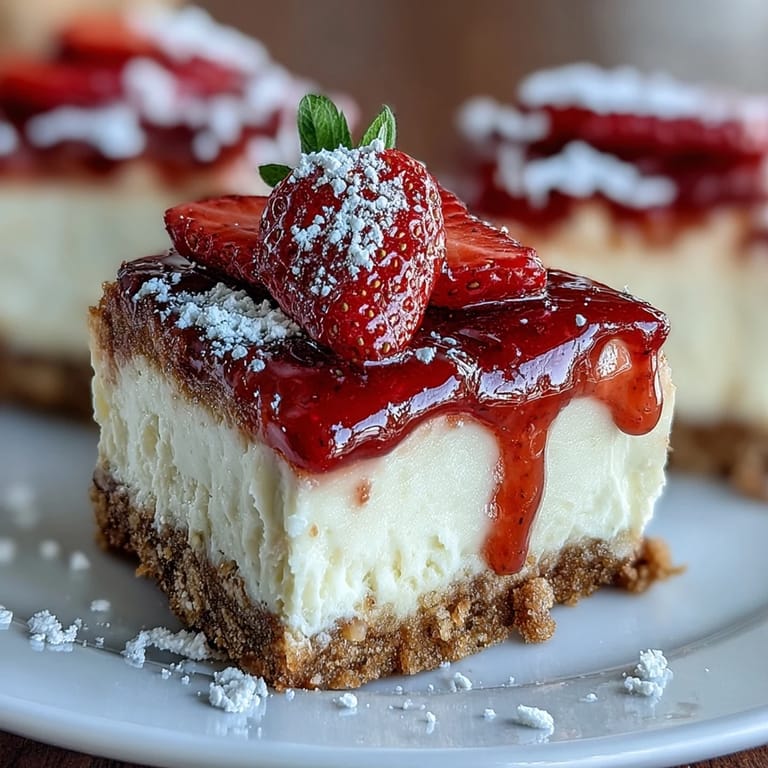
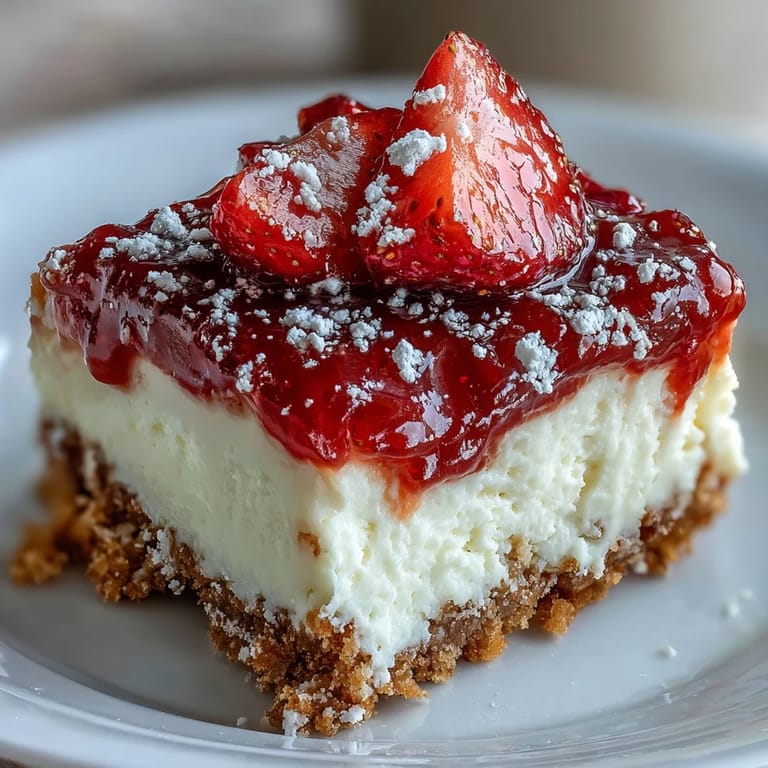
 There is something quietly thrilling about hearing strawberries tumble into a colander, their scent a sudden burst against the hum of a warm afternoon. I remember making these strawberry cheesecake bars the first time when I needed an effortless dessert after a friend texted she’d drop by for coffee. The whole process felt like a pocket of calm—no baking, just a bit of whisking and layering while music played softly in the kitchen. The longer I let the layers chill, the more anticipation built as the house filled with the faint, buttery scent of the crust mingling with sweetness in the air. That first slice, cool and creamy with bright strawberries on top, felt like pure summertime in a bite.
Last spring, I brought a batch to a backyard gathering, balancing the pan with oven mitts because I’d chilled it to the last possible minute. The sight of everyone pausing in conversation to admire that first ruby-studded square was a quiet triumph. We ended up sitting cross-legged on the porch steps, eating with our hands, cold creamy centers softening in the dusk light. No one even bothered with extra plates.
Ingredients
- Graham cracker crumbs: The base of your bars, these create that sandy, buttery snap and I’ve found pulsing them in a food processor gives the most even texture.
- Granulated sugar: Adds just enough sweetness to round out the earthy grahams and brightens the strawberry topping too.
- Unsalted butter: Melting makes mixing simple—warm doesn’t just combine, it also brings out a toasted aroma in the crust.
- Cream cheese: Soften it fully for a silky, lump-free layer; pulling it out an hour ahead saves arm work.
- Powdered sugar: Dissolves perfectly into the cream cheese, avoiding any unwanted graininess in the filling.
- Vanilla extract: Just a splash is enough; I learned that too much can overpower the gentle tang of the cream cheese.
- Heavy cream: Whipping it cold gives the fluffiest structure—use a chilled bowl if you can.
- Fresh strawberries: The true showstopper—let them macerate in sugar and lemon to amplify their juiciness and color.
- Lemon juice: A little splash brings out the strawberries' flavor, giving the whole dessert a bright lift.
Tired of Takeout? 🥡
Get 10 meals you can make faster than delivery arrives. Seriously.
One email. No spam. Unsubscribe anytime.
Instructions
- Line and prep:
- Start by lining your baking pan with parchment, leaving enough overhang to make lifting later an absolute breeze.
- Mix the crust:
- Stir together graham crumbs, sugar, and melted butter until everything looks like wet sand, then press it down firmly in the pan; pressing with the back of a spoon really gets those corners packed in.
- Chill the base:
- Slide your crust into the fridge to firm up while you work on making the creamy layer.
- Whip the cheesecake layer:
- Beat softened cream cheese until smooth, then add powdered sugar and vanilla, mixing until glossy and combined—pause and scrape down the bowl so you don’t miss any sneaky lumps.
- Fold in whipped cream:
- Whip your cold heavy cream to stiff peaks in another bowl and gently fold into the cream cheese until it's airy and uniform; resist the urge to overmix.
- Layer it up:
- Spoon the cream cheese mixture over the crust and smooth out the top—small swirls from your spatula give a pretty finish.
- Brighten the berries:
- Tumble the strawberries into a bowl with sugar and lemon, give them a good toss, and let them sit until glossy and juicy—this takes just a few minutes but feels magical.
- Top and chill:
- Arrange your berries artfully over the cheesecake, then cover and let the pan chill for at least four hours so everything sets up just right.
- Slice and serve:
- Once chilled, lift out using the parchment and cut into neat squares; serve cold for that refreshing, creamy texture.
 Save Pin
 When my niece insisted on helping one weekend, our kitchen exploded into giggles and strawberry slices. Watching her sneak an extra berry when she thought I wasn’t looking made these bars feel more like a shared adventure than just dessert. That day, every bite tasted just a bit sweeter.
If You’re Short On Time
Once, I needed these bars to set faster before guests arrived, so I tucked the pan into the freezer for an hour. The result was bars that held together beautifully with a firmer bite, almost like an icebox treat—just don’t forget to move them back to the fridge before serving so the layers stay creamy.
Easy Ways to Switch Things Up
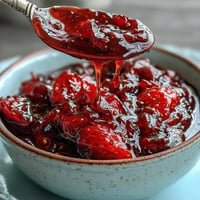
Sometimes I swap out the graham crackers for vanilla wafers or even chocolate cookies when I want a twist. You can also mix in a generous spoonful of berry jam beneath the strawberry topping if you like each bite extra fruity. Let your favorite flavors guide the way.
Getting the Best Out of Each Layer
Pat the crust extra firmly before chilling so it doesn’t crumble when you slice. If you’re not a fan of the seeds in strawberries, a quick pass with a mesh strainer lets you drizzle some syrup on top without the texture. For perfect squares, run your knife under hot water and wipe it clean between each cut.
- Keep parchment edges long—it doubles as handy “handles” for lifting out the whole block.
- Chill overnight for the most cohesive slices.
- Serve extra strawberries on the side for guests who like it extra fruity.
 Save Pin
 There’s genuine satisfaction in seeing these bars disappear faster than anything else on the table. Hope your kitchen is filled with laughter and a few sticky fingers, just like mine was.
Cooking Questions & Answers
- → How do I keep the crust firm?
Press the graham crumb mixture very firmly into the pan and chill before adding the filling; for extra firmness, bake the crust at 350°F (175°C) for 8 minutes and cool completely before layering.
- → How can I achieve a smooth, airy filling?
Beat softened cream cheese until completely smooth, then fold in whipped heavy cream gently to retain volume; avoid overmixing to keep the filling light.
- → Can I use frozen strawberries for the topping?
Thawed strawberries can work if you drain excess liquid and gently toss with sugar and lemon to concentrate flavor; fresh berries give the best texture and appearance.
- → What’s the best way to slice neat bars?
Use a sharp knife cooled in hot water and wiped dry between cuts, or chill the set bars thoroughly before slicing to get clean edges.
- → How long should the bars be chilled?
Refrigerate at least 4 hours to allow the filling to firm up; overnight chilling gives the best texture and easier slicing.
- → Can I make substitutions for dietary needs?
Use lactose-free cream cheese and whipped coconut cream to reduce dairy, and swap gluten-free crackers for graham crumbs to avoid gluten, adjusting moisture and chilling time as needed.