 Save Pin
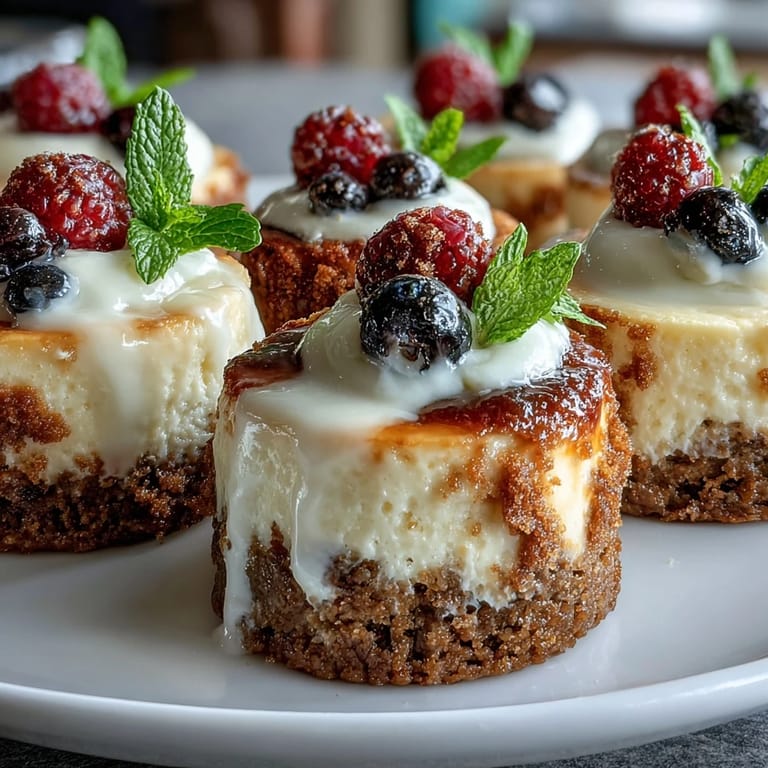
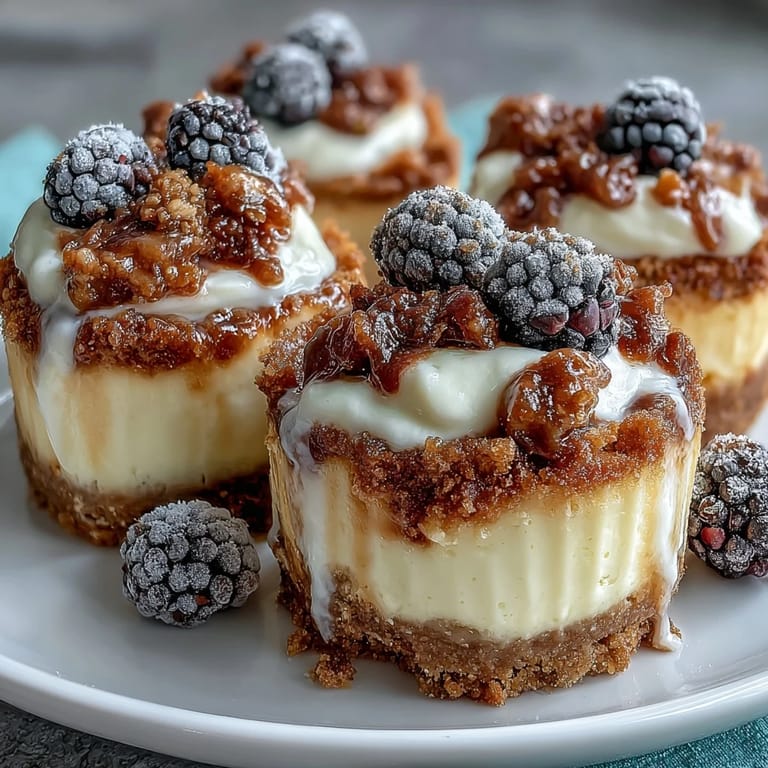
 My neighbor knocked on my door at midnight with a housewarming gift box, and inside were these tiny cheesecakes from a fancy bakery downtown. I stared at them thinking they couldn't possibly be that hard to make, so the next weekend I decided to prove myself right. Turns out they're deceptively simple—just a buttery crumb base, silky filling, and 20 minutes in the oven. Now whenever someone needs a dessert that looks impressive but doesn't demand hours of fussing, these are my secret weapon.
I brought a batch to a potluck last spring and watched them disappear within minutes—people kept sneaking back to the dessert table for just one more bite. What stuck with me wasn't just how quickly they vanished, but how someone asked if I'd bought them from a bakery. That question felt like the highest compliment, honestly.
Ingredients
- Graham cracker crumbs: Use the finely crushed kind if you can find them, or pulse whole crackers in a food processor until they resemble sand—it makes pressing them down so much easier.
- Granulated sugar: Split between crust and filling, it keeps things balanced and prevents any one layer from tasting cloyingly sweet.
- Unsalted butter, melted: This is what holds the crust together and gives it that gorgeous golden-brown color when baked.
- Cream cheese, softened: Let it sit on the counter for at least 30 minutes before beating—cold cream cheese creates lumps that no amount of mixing will smooth out.
- Eggs: Add them one at a time and beat gently after each addition to avoid overworking the batter, which can make the cheesecakes crack.
- Sour cream: This adds tanginess that balances the richness and keeps the filling moist.
- Vanilla extract: A full teaspoon gives you real flavor without being overpowering.
- All-purpose flour: Just a tablespoon helps stabilize the filling so you get that perfect slightly-jiggly center without it being raw.
Tired of Takeout? 🥡
Get 10 meals you can make faster than delivery arrives. Seriously.
One email. No spam. Unsubscribe anytime.
Instructions
- Prep your stage:
- Preheat the oven to 325°F and line your mini muffin tin with paper liners—this tiny step saves you from wrestling with hot cheesecakes later. Set out all your ingredients so you're not hunting for things while the mixer is running.
- Make the crust:
- Combine graham cracker crumbs, sugar, and melted butter in a bowl and mix with a fork until it looks like wet sand. Press about a heaping teaspoon of this mixture firmly into each liner—you want a solid base that holds together.
- Build the filling:
- Beat softened cream cheese on low speed until it's smooth and creamy, then add sugar and mix until you don't see any gritty bits. Add eggs one at a time, beating gently between each addition, then fold in sour cream, vanilla, flour, and salt until just combined.
- Fill and bake:
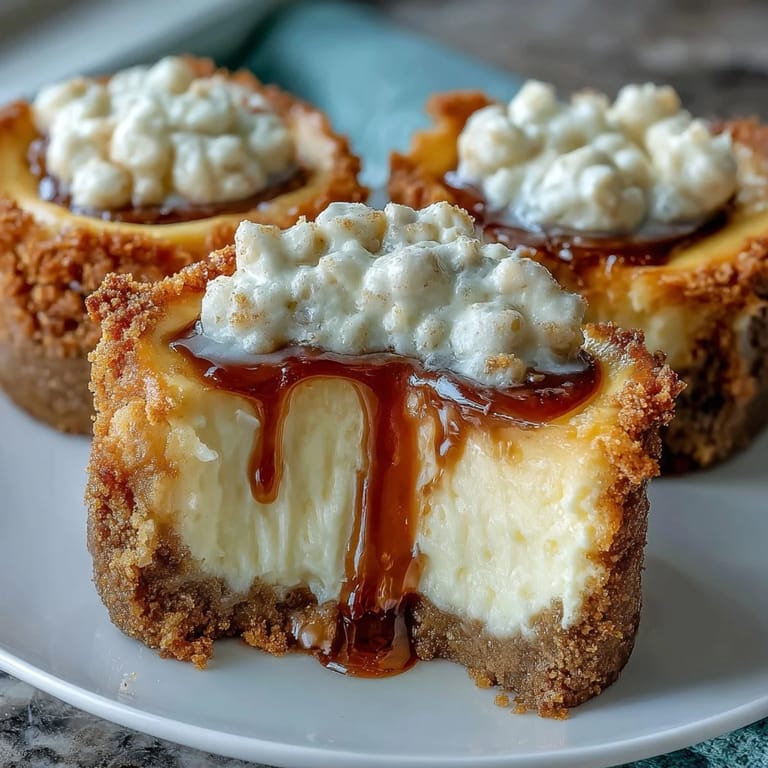
- Spoon the filling over each crust until it reaches near the top of the liner, then slide the tin into the oven. Bake for 18 to 20 minutes—they're done when the edges are set but the very center still jiggles slightly when you tap the pan.
- Cool gradually:
- Let the cheesecakes cool in the pan for 15 minutes before transferring to a wire rack, which prevents them from cracking due to temperature shock. Once they're completely cooled, refrigerate for at least an hour before adding any toppings.
 Save Pin
 There's something almost meditative about the process of filling 24 tiny cups, moving along the muffin tin in a rhythm. My daughter sat nearby watching, asking questions about why we do each step a certain way, and by the time we pulled them from the oven, she understood that baking is really just following your instincts with a little science sprinkled in.
Topping Ideas That Elevate Everything
The beauty of these miniatures is that you can get creative with the top without it feeling overdone or messy. Fresh berries add brightness and color, a drizzle of fruit preserves brings richness, whipped cream adds elegance, and chocolate shavings feel indulgent. Pick one or combine a few depending on the occasion and what you have on hand.
Flavor Variations Worth Exploring
Plain cheesecake is classic, but swapping in lemon zest brightens the whole thing, or a teaspoon of cinnamon makes them feel cozy and autumn-like. I've experimented with almond extract, which adds a subtle nuttiness, and even a touch of maple syrup mixed into the filling, which was unexpectedly delicious. The base recipe is forgiving enough to handle gentle flavor tweaks.
Make-Ahead Magic and Storage
These cheesecakes actually taste better the next day after flavors have settled, so you can bake them up to 24 hours ahead and keep them covered in the refrigerator. They also freeze beautifully for up to a month if you wrap them individually—just thaw in the fridge for a couple hours before serving. The only time you should add toppings is right before serving, so they stay fresh and don't get soggy.
- Store unfrosted cheesecakes in an airtight container so they don't pick up fridge flavors.
- If you're transporting them, keep them in the muffin tin or a sturdy cake box to prevent sliding.
- Let frozen ones come to room temperature gradually to avoid condensation that makes the crust soggy.
 Save Pin
 These little cheesecakes have become my answer to almost any dessert occasion, from casual weeknight treats to fancy dinner parties. There's real joy in knowing you can make something restaurant-quality in your own kitchen.
Cooking Questions & Answers
- → What type of crust is used for the mini cheesecakes?
A crisp graham cracker crust made with graham cracker crumbs, sugar, and melted butter forms the base.
- → How long should the cheesecakes chill before serving?
Chill the mini cheesecakes for at least 1 hour to allow proper setting and flavor development.
- → Can these cheesecakes be made ahead of time?
Yes, they can be prepared a day ahead and stored in the refrigerator to save time.
- → What toppings complement these mini cheesecakes?
Fresh berries, fruit preserves, whipped cream, or chocolate shavings add flavor and visual appeal.
- → Is there a way to make these suitable for gluten-free diets?
Use gluten-free graham crackers and all-purpose flour alternatives to adapt the crust and filling.