 Save Pin
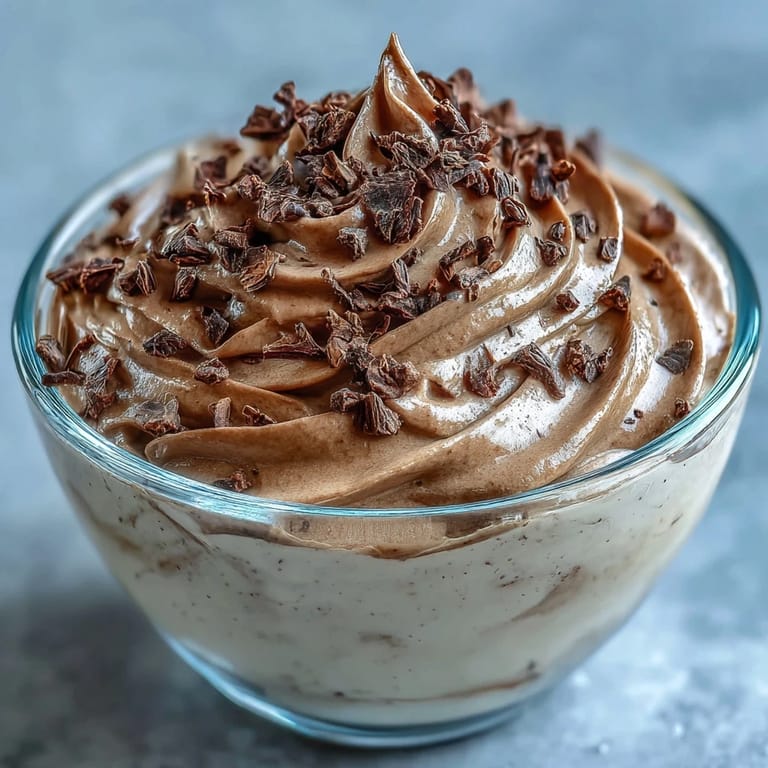
 My neighbor brought over a small tin of hojicha one autumn afternoon, insisting I try it in something more interesting than tea. That evening, I found myself whisking eggs over steam, watching the roasted tea's warm hazel color emerge in what would become this impossibly light mousse. There's something almost meditative about how hojicha transforms milk—no cream needed, just patience and the right technique. That first spoonful, cold and cloud-like, made me understand why she'd been so particular about sharing it.
I made this for a dinner party where I was nervous about impressing a guest who'd recently moved back from Tokyo. She took one bite and paused—that good kind of pause—then asked for the recipe. Later, she told me it reminded her of a café near her apartment there, which felt like winning some invisible culinary lottery.
Ingredients
- Hojicha tea leaves: These roasted green tea leaves are the star, bringing a nutty, almost coffee-like warmth without bitterness—seek out a quality brand since you'll really taste it.
- Whole milk: The fat carries the hojicha flavor beautifully, but oat milk works just as well if you're avoiding dairy.
- Eggs (separated): The whites become your mousse's architecture, so use the freshest eggs you can find and keep your mixing bowl spotlessly clean.
- Granulated sugar: Split between the yolk mixture and whites, it dissolves into the mousse without any grittiness if you whisk long enough.
- Vanilla extract: Just a whisper—it deepens the tea flavor rather than competing with it.
- Cornstarch: This prevents the egg yolks from scrambling over the warm milk and gives the final texture a silky body.
- Powdered gelatin: The secret to keeping your mousse stable without heavy cream, and it sets quietly without any rubbery texture if you're gentle with it.
- Toasted hojicha tea leaves or cocoa nibs: A finishing touch that looks deliberate and tastes like you know what you're doing.
Tired of Takeout? 🥡
Get 10 meals you can make faster than delivery arrives. Seriously.
One email. No spam. Unsubscribe anytime.
Instructions
- Steep the hojicha in warm milk:
- Heat your milk just until wisps of steam rise from the surface—not quite boiling, which would scald the delicate tea. Add the hojicha leaves, cover, and let them settle into the milk for 10 minutes, filling your kitchen with that toasted, grassy aroma.
- Bloom the gelatin:
- While the tea steeps, sprinkle gelatin over cold water and let it sit untouched for 5 minutes. This bloom step ensures the gelatin dissolves evenly later without any grainy surprises.
- Make the custard base:
- Whisk your egg yolks with half the sugar and cornstarch until the mixture turns pale and falls in ribbons from your whisk. This ribboning means you've incorporated enough air to prevent scrambling when the warm milk joins it.
- Temper the eggs with the hojicha milk:
- Slowly pour your strained hojicha milk into the yolk mixture while whisking constantly—this gradual introduction keeps everything silky rather than scrambled. The warmth should be noticeable but not shocking.
- Cook over gentle heat:
- Set your bowl over simmering water and whisk steadily for 3 to 5 minutes until the mixture coats the back of a spoon and no longer tastes raw. You're looking for that moment when it clings slightly without being thick.
- Add the gelatin and vanilla:
- Remove from heat and immediately stir in the bloomed gelatin until it vanishes completely into the warm mixture. Add vanilla, then let the whole thing cool to room temperature, stirring occasionally so it cools evenly.
- Whip the egg whites:
- In a completely clean bowl, beat egg whites until soft peaks form—when you lift the whisk, they should hold a gentle, drooping point. Gradually add the remaining sugar and keep beating until the peaks are glossy and stiff, which takes patience but transforms the texture.
- Fold gently:
- Fold the whites into the hojicha mixture in three additions, using a rubber spatula and turning the bowl as you go. Folding slowly prevents you from deflating all that air you just worked to capture.
- Chill and set:
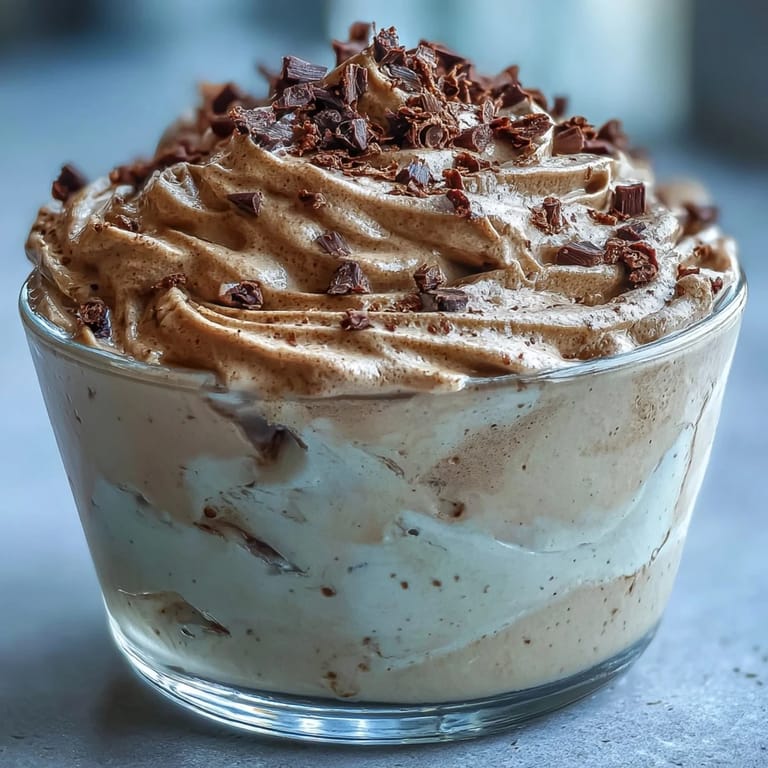
- Spoon into glasses or ramekins and refrigerate for at least 2 hours. The mousse will firm up as the gelatin sets, creating that cloud-like texture that melts on your tongue.
- Finish and serve:
- Just before serving, dust with toasted hojicha leaves or cocoa nibs if you have them. This final touch catches the light and signals that you've made something intentional.
 Save Pin
 There's a moment after the mousse sets when you pull it from the refrigerator and see how perfectly still it sits in the glass—like a small edible cloud that somehow became solid. Serving it feels like unveiling something you've carefully built with your own hands.
The Magic of Hojicha
Hojicha's roasted character gives this mousse a sophistication that most desserts need cream to achieve. The tea's warmth works like a whisper through the whole dish, never shouting but always present. I've learned that letting hojicha steep fully—without rushing—coaxes out its nuttiest, most complex notes, which then marry perfectly with the light egg foam that surrounds it.
Why This Works Without Cream
Most mousse recipes hide behind heavy cream to build texture, but this one relies on three things: warm milk that carries flavor, egg whites beaten into clouds, and gelatin that sets everything gently. The cornstarch in the custard base adds body without any starch taste, and the gelatin holds the structure without any rubber texture. This approach actually lets the hojicha shine through more clearly because nothing's competing for your attention.
Serving and Pairing Suggestions
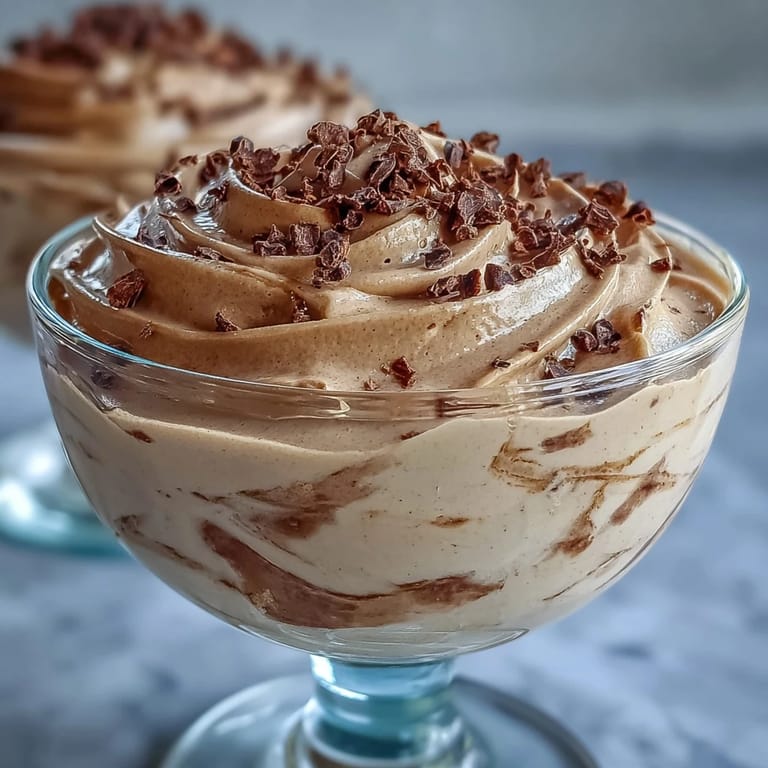
I serve these chilled in small glasses so you can see the layers and texture, and because there's something elegant about spoon-eating dessert straight from the glass. They pair beautifully with sake—especially a slightly floral variety—or a cup of fresh green tea to echo the hojicha's roasted notes. The mousse also welcomes fresh raspberries or a drizzle of honey on the side for anyone wanting a little brightness.
- Chill your serving glasses in the freezer for 15 minutes before filling them for a restaurant-quality presentation.
- Make these up to 6 hours ahead, which means you can focus on the rest of your meal without last-minute fussing.
- If your mousse breaks or looks grainy, you can always layer it into a glass with whipped cream and call it a parfait.
 Save Pin
 This mousse proves that restraint in the kitchen often yields the most memorable desserts. Make it once, and you'll find yourself creating excuses to make it again.
Cooking Questions & Answers
- → What makes hojicha different from other green teas?
Hojicha is roasted green tea leaves, which gives it a distinct reddish-brown color and flavors reminiscent of caramel, nuts, and toast. The roasting process reduces caffeine and bitterness while creating a smooth, mellow taste that pairs beautifully with creamy desserts like mousse.
- → Can I make this mousse ahead of time?
Absolutely. This mousse actually benefits from chilling overnight, which allows the flavors to fully develop and the texture to set completely. You can prepare it up to 24 hours in advance, though wait to add garnishes like toasted tea leaves or cocoa nibs until just before serving for optimal texture.
- → What if I don't have gelatin?
While gelatin provides the best set for this light mousse, you can substitute with agar-agar powder. Use about 1 teaspoon of agar-agar powder dissolved in the hot liquid mixture instead of gelatin. Note that the texture may be slightly firmer, and you'll need to bring the mixture to a brief boil to activate the agar-agar properly.
- → Is it possible to make this dairy-free?
Yes, simply substitute the whole milk with oat milk or almond milk. Both options work well with hojicha's roasted flavors. Oat milk tends to provide a slightly creamier result closer to the original, while almond milk adds a subtle nutty note that complements the tea. The texture and setting time remain virtually the same.
- → Why separate the eggs instead of using whole eggs?
Separating eggs serves two purposes here. The yolks combine with the hojicha-infused milk and cornstarch to create a rich, creamy custard base that carries the tea flavor. Meanwhile, beating the whites separately and folding them in creates those tiny air bubbles that give mousse its signature light, cloud-like texture. Using whole eggs would result in a much denser, heavier final product.
- → How do I know when the custard is thick enough?
The custard is ready when it coats the back of a spoon and you can run your finger through it leaving a clean line that doesn't immediately fill back in. This typically takes 3–5 minutes of constant whisking over the bain-marie. Don't rush this step—undercooked custard won't set properly, while overcooked can lead to grainy texture or even scrambled eggs.