 Save Pin
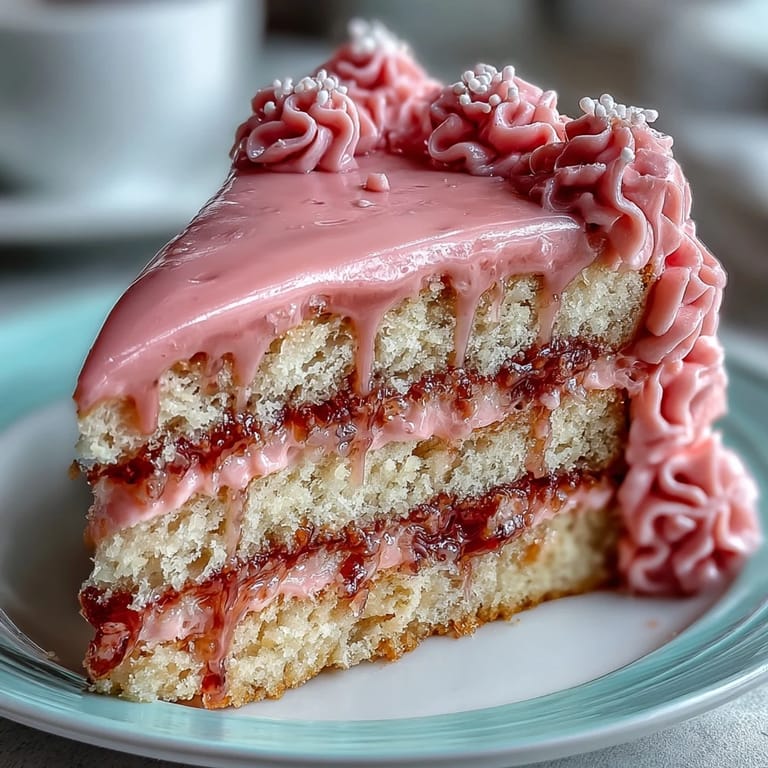
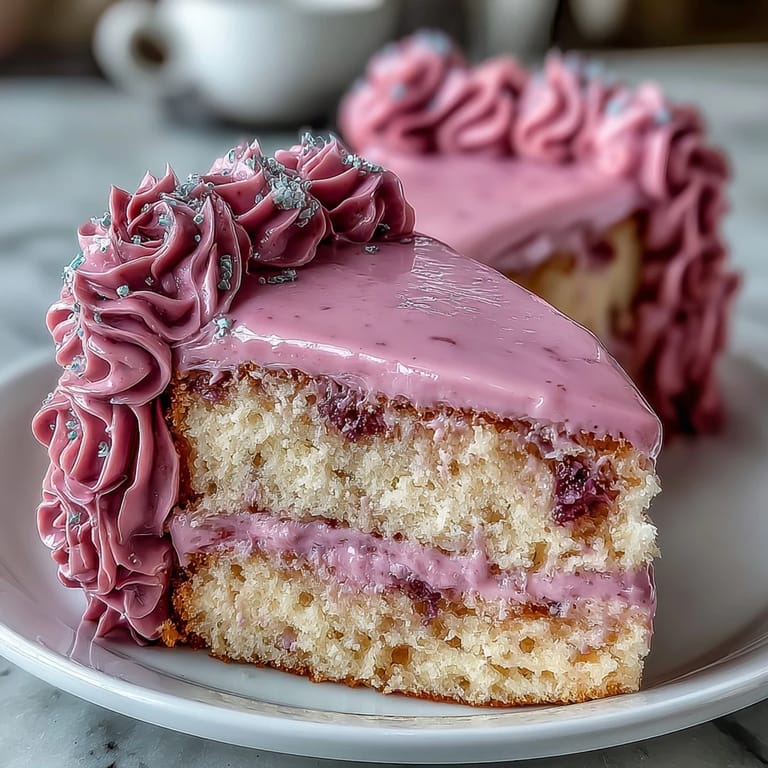
 My sister called me in a panic two weeks before her birthday, asking if I could make her a cake that looked like something out of a spring garden. She wanted pastels, florals, and definitely nothing store-bought. I'd never piped flowers before, but something about her excitement made me say yes without overthinking it. That afternoon, my kitchen filled with the warm smell of vanilla cake, and by evening, I was discovering that buttercream could be coaxed into surprisingly delicate blooms.
What I didn't expect was how therapeutic it became—standing there with my piping bag, watching soft pink swirls become petal shapes. My mom wandered in, grabbed a piping bag, and suddenly we were creating this garden together, laughing at our lopsided roses but somehow making it work. By the time we finished, the cake wasn't perfect, but it was ours, and that mattered more than any flawless bakery version.
Ingredients
- All-purpose flour: The 2 ½ cups is your foundation—measure by spooning into the cup and leveling off, not scooping directly, which can pack it too tight and make the cake dense.
- Baking powder: This is what gives you that tender crumb; make sure yours isn't expired or your cake will be disappointingly flat.
- Unsalted butter: Room temperature is non-negotiable here—cold butter won't cream properly with the sugar, and you'll end up with a dense cake instead of the fluffy cloud you want.
- Granulated sugar: Don't skip the creaming step; those 3–4 minutes of beating air into the butter and sugar are what make this cake rise so beautifully.
- Eggs: Also room temperature—they blend more smoothly into the batter and help you achieve that silky texture.
- Vanilla extract: Pure vanilla tastes like actual vanilla; the imitation stuff has a slightly harsh edge that you'll notice.
- Whole milk: This keeps the cake moist and tender; don't use almond or oat milk as a swap without adjusting other ratios.
- Powdered sugar for buttercream: Sift it even if you don't think you need to—unsifted powdered sugar has tiny lumps that create grittiness in your frosting.
- Gel food coloring: Gel is better than liquid food coloring because it won't thin out your buttercream like water-based dyes do.
Tired of Takeout? 🥡
Get 10 meals you can make faster than delivery arrives. Seriously.
One email. No spam. Unsubscribe anytime.
Instructions
- Set up your workspace:
- Preheat to 350°F and get your three 8-inch pans lined with parchment—this takes two minutes and saves you from scrambling later when the batter's ready.
- Build your dry blend:
- Whisk the flour, baking powder, and salt together in a medium bowl so everything's evenly distributed before it meets the wet ingredients.
- Cream the butter and sugar:
- Beat them on medium-high for 3–4 minutes until the mixture looks pale and fluffy, like soft whipped clouds; this is where the cake gets its lift, so don't rush it.
- Incorporate the eggs:
- Add one egg at a time, beating well after each so the mixture stays smooth and creamy, then add your vanilla extract.
- Alternate wet and dry:
- Start and end with the flour mixture—flour, then milk, then flour, then milk, then flour—mixing just until combined so you don't overdevelop the gluten and toughen the cake.
- Divide and bake:
- Pour batter evenly into the three pans and smooth the tops, then slide them into the oven for 25–30 minutes until a toothpick comes out clean. The kitchen will smell incredible.
- Cool with patience:
- Let the cakes rest in the pans for 10 minutes (they'll firm up and unmold cleanly), then turn them out onto wire racks to cool completely before frosting—warm cake and frosting don't mix well.
- Make the buttercream:
- Beat butter until creamy, then gradually add the sifted powdered sugar along with milk, vanilla, and salt, beating for 3–4 minutes until it's smooth and fluffy like mousse.
- Tint your colors:
- Divide the buttercream into small bowls and add just a touch of gel coloring at a time, stirring thoroughly; you want soft pastels, not neon brights.
- Layer and crumb coat:
- Place your first cake layer on a plate, spread buttercream on top, repeat with the remaining layers, then apply a thin layer of frosting over the entire cake and chill it for 20 minutes so the next layer sticks cleanly.
- Pipe your florals:
- Load your piping bags with different colored buttercreams and fitted tips, then pipe petals, roses, or delicate flowers directly onto the cake—there's no one right way, so trust your instincts and have fun with it.
- Final chill and serve:
- Give the decorated cake 15–20 minutes in the fridge so the buttercream sets and the colors deepen slightly, then bring it out just before guests arrive.
 Save Pin
 When my sister opened the cake box and just gasped, I understood why people love to bake for others. It wasn't about perfection—it was about creating something delicate and intentional for someone who mattered. She ate a slice right there and said it tasted like spring and love, which felt like the highest compliment any baker could get.
The Secret to a Moist, Tender Cake
The magic is in three things: creaming the butter and sugar properly so you incorporate air, not overmixing the batter once flour enters the picture, and allowing the cake to cool completely before frosting. I once made the mistake of frosting a warm cake and watched the buttercream literally melt and slide off like it had given up. The moment I waited for complete cooling, everything changed—the frosting stayed put, the layers stayed intact, and the cake tasted infinitely better because the crumb had time to set and develop its full flavor.
Decorating with Confidence
Your first piped flower will probably look wonky, and that's the point—each one teaches you something about pressure and angle and how the buttercream flows. I practiced on parchment paper first, piping random petals and roses until my hand remembered the motions. By the time I got to the actual cake, I'd already made peace with the idea that imperfection is charming. Soft pastels also have a forgiving quality; slightly smudged or uneven colors somehow read as intentional and whimsical rather than sloppy.
Storage and Make-Ahead Magic
You can bake the cake layers a full day ahead, wrap them well, and frost the next day—sometimes I think the cake tastes better this way because the flavors have settled and deepened. The buttercream can be made up to three days in advance and stored in an airtight container at room temperature, or even frozen for a couple of weeks. The decorated cake will keep in the fridge for two days covered gently with plastic wrap, though the buttercream texture changes slightly if it gets too cold, so let it come to room temperature for 30 minutes before serving.
- Never frost a warm cake or you'll end up with buttercream soup.
- Pastel gel coloring is forgiving—start with the tiniest amount and add more if needed.
- A thin crumb coat chilled before final decorating prevents cake crumbs from muddying your buttercream colors.
 Save Pin
 This cake became my go-to for celebrations because it's somehow both impressive and joyful, never pretentious. Every time I make it now, I think of that afternoon in the kitchen with my mom, laughing at our crooked flowers and knowing that's exactly the point.
Cooking Questions & Answers
- → What type of flour is best for this cake?
All-purpose flour provides the ideal texture and structure, helping create tender yet sturdy layers.
- → How can I achieve smooth pastel buttercream colors?
Use gel food coloring in small amounts, gradually blending to reach soft pastel shades without thinning the buttercream.
- → What’s the best way to layer the cake evenly?
Divide the batter equally among pans and smooth tops before baking, then spread buttercream evenly between layers for stability.
- → Can I prepare the cake in advance?
Yes, bake the layers ahead and store them wrapped in the fridge. Assemble and decorate just before serving for best freshness.
- → How do I prevent crumbs when crumb coating?
Apply a thin layer of buttercream gently to seal crumbs, then chill before applying the final decorative coat.