 Save Pin
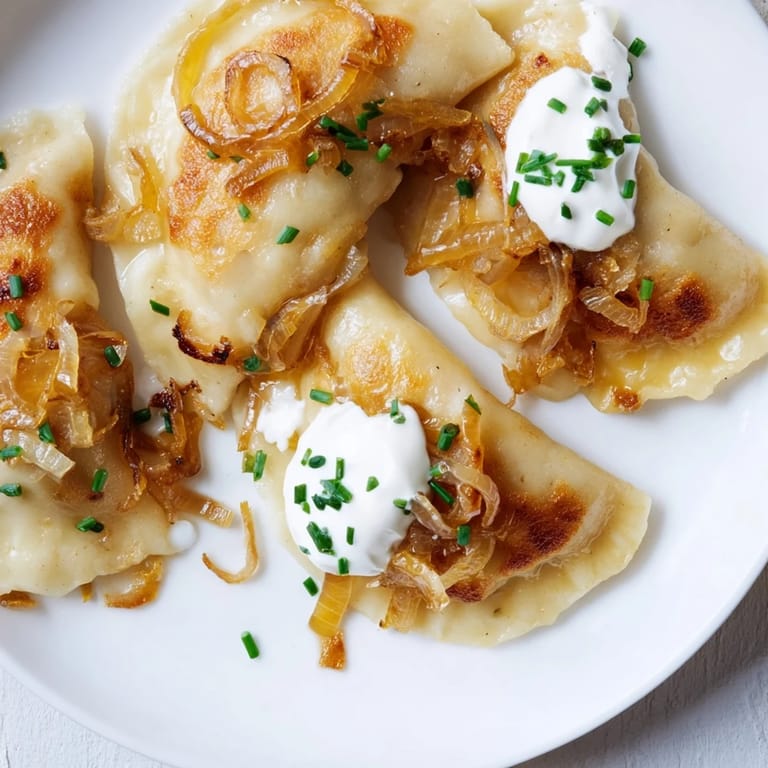
 My grandmother's kitchen in Warsaw smelled like butter and dough on Sunday afternoons, and somewhere between watching her hands fold each pierogi and stealing warm ones straight from the pot, I understood why this dish mattered. There's something about the way the potato and cheese filling surrenders to a tender wrapper, how it feels in your mouth—not heavy, but deeply satisfying. Years later, I realized I could recreate that exact feeling in my own kitchen, and now pierogi has become the dish I make when I want to slow down and remember why I love cooking.
I made these for a dinner party once, worried they'd be too ambitious, and ended up with five friends circled around the stove waiting for the next batch to finish frying. One of them—someone who usually orders takeout—asked for the recipe before dessert even happened. That's when I knew these weren't just dumplings; they were the kind of food that makes people feel welcomed.
Ingredients
- All-purpose flour: Three cups gives you structure without being heavy; it's forgiving enough for beginners but sturdy enough to hold a generous filling.
- Egg: One large egg binds everything and makes the dough silky when you work it.
- Lukewarm water: Three-quarters cup sounds simple, but temperature matters—too hot kills the texture, too cold and you'll knead forever.
- Sour cream: Two tablespoons add tang and tenderness that you'll taste in every bite.
- Russet potatoes: One and a half pounds—these are starchy and mash to clouds, not gluey messes.
- Farmers cheese or ricotta: One cup of well-drained cheese prevents a soggy filling; this is where you taste the difference between good and exceptional.
- Sharp cheddar: Half a cup adds a whisper of flavor that grounds the potato without overwhelming it.
- Unsalted butter: Five tablespoons total—use good butter, the kind that smells nutty when it browns.
- Onions: Three total (one chopped for the filling, two sliced for caramelizing) bring sweetness and depth you won't expect.
- Sour cream for serving: This is your finishing touch, the cool relief against the warm, crispy dumplings.
Tired of Takeout? 🥡
Get 10 meals you can make faster than delivery arrives. Seriously.
One email. No spam. Unsubscribe anytime.
Instructions
- Make the dough come together:
- Combine flour and salt in a bowl, then create a little well like you're building a edible nest. Add the egg, melted butter, sour cream, and water, and start mixing from the center outward, pulling flour into the wet ingredients until a shaggy dough forms. Move to a floured surface and knead for five to seven minutes—your hands will know when it's ready because it'll feel smooth, elastic, and almost alive under your palms.
- Let it rest and relax:
- Cover the dough with a damp towel and let it sit for thirty minutes. This isn't wasted time; it's when the gluten relaxes and the dough becomes easier to work with, almost like it's forgiving you in advance for handling it.
- Build the filling with care:
- Boil cubed potatoes in salted water until a fork slides through without resistance, then drain them well and mash until perfectly smooth. In a separate skillet, melt butter and cook the chopped onion until it's golden and soft, then fold it into the mashed potatoes along with the cheeses.
- Seal each one like a secret:
- Roll the rested dough thin—about three millimeters, which is thinner than a dime—then cut circles and fill each one with a heaping teaspoon of potato mixture. Fold in half and pinch the edges firmly so they don't burst in the boiling water; this step is worth doing carefully.
- Boil until they float and sing:
- Bring salted water to a gentle boil and cook the pierogi in batches so they have room to move. They'll sink at first, then float to the surface like they're breathing, and that's when you cook them for one to two minutes more before scooping them out with a slotted spoon.
- Caramelize the onions slowly:
- This takes patience—melt butter over medium-low heat, add sliced onions, and let them cook for twenty to twenty-five minutes, stirring often until they're deeply golden and almost sweet. Rush this step and you'll miss the magic.
- Fry them until they're golden and crisp:
- Working in batches, add the boiled pierogi to the same skillet and cook until both sides turn golden and develop a thin, crispy exterior, about two to three minutes per side. You'll know it's ready when the edges sound slightly crispy when you press them with your spoon.
 Save Pin
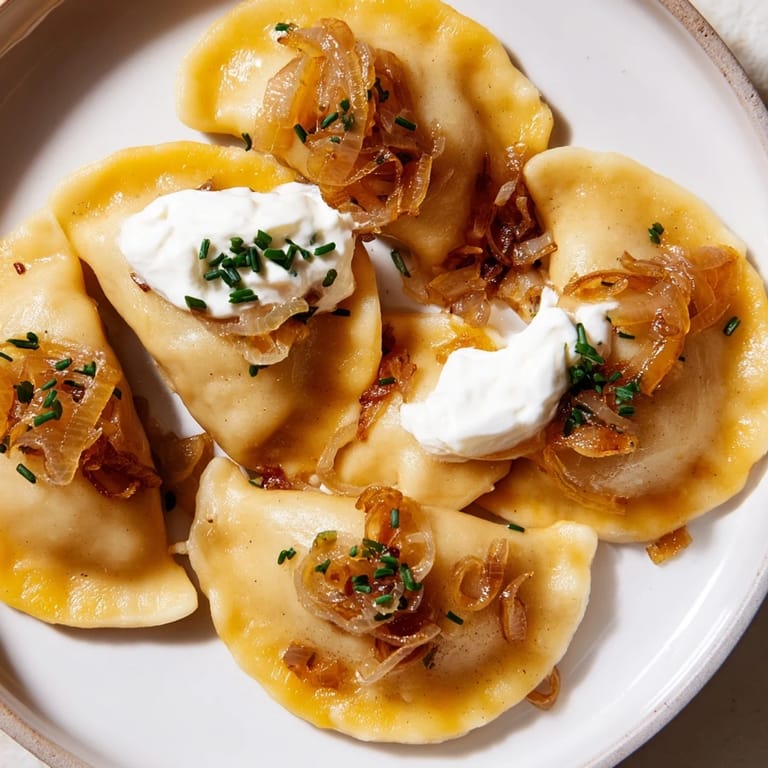
 There's a quiet moment that happens when everything comes together on the plate—the crispy pierogi still warm, the caramelized onions glossy and dark, a spoonful of cold sour cream ready to cool the heat. That's when food becomes more than sustenance; it becomes a conversation between you and everyone eating it.
The Dough Matters More Than You Think
I spent years making pierogi with whatever dough recipe seemed easiest, and they were fine, forgettable fine. The turning point came when I realized the dough should taste like something on its own—slightly tangy from the sour cream, tender enough to almost melt on your tongue. That sour cream isn't there for flavor alone; it's insurance against tough dough and a promise that every bite will be soft. The resting period isn't optional either; it's when the flour fully hydrates and the gluten relaxes enough to let you roll thin circles without them snapping back.
Why Caramelized Onions Are Worth the Wait
I used to think caramelized onions were a fancy garnish, something to skip on a weeknight. But then someone told me they'd been slowly cooking them for thirty minutes while we talked, and when we tasted them, I understood—they're sweet in a way raw onions could never be, almost like the heat coaxes out a hidden side of them. The butter matters too; it carries the flavor and makes them shine against the creamy filling. Now I never make pierogi without them, and I've learned to start them early while I'm preparing everything else so they're ready exactly when I need them.
Serving and Sharing
The beauty of pierogi is that they're humble enough for a weeknight dinner but impressive enough to serve when people matter. I've learned that they taste best served immediately, while the edges are still crispy and the filling warm, but they're also forgiving if you need to hold them for a few minutes. The sour cream isn't just a topping; it's your seasoning, your temperature control, your moment to customize each bite. A sprinkle of fresh chives or parsley lifts everything at the last second, adding a green note that cuts through the richness.
- Freeze uncooked pierogi on a tray before transferring them to bags—they'll keep for two months and cook straight from frozen with just a minute or two extra in the boiling water.
- Warm sour cream mixed with chopped dill becomes something almost luxurious, a small upgrade that tastes intentional.
- Leftover caramelized onions are gold; they brighten breakfast eggs, top burgers, or garnish soup the next day.
 Save Pin
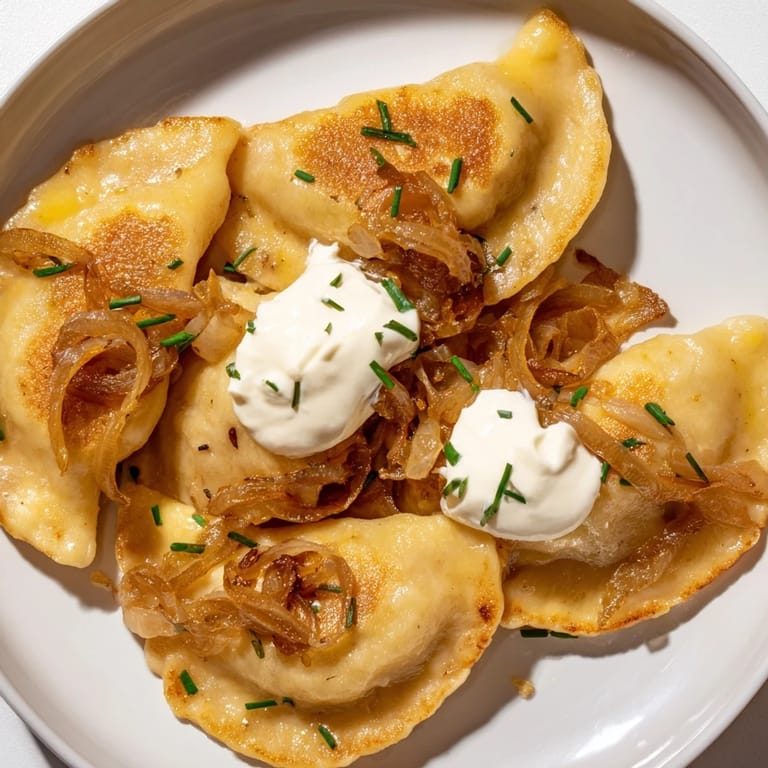
 This recipe is an invitation to slow down and taste what happens when simple ingredients meet patience and care. Every time you make these, you're adding your own story to a dish that's been fed to families for generations.
Cooking Questions & Answers
- → What type of cheese works best for the filling?
Farmers cheese provides a creamy texture and mild flavor, but well-drained ricotta or a mix with cheddar adds richness and sharpness to the filling.
- → How do I ensure the dough is elastic and easy to work with?
Mixing the dough well and kneading for 5–7 minutes develops gluten. Allowing it to rest covered with a damp towel helps relax the dough, making it easier to roll thinly.
- → What’s the best way to know when the dumplings are done boiling?
Cook the dumplings in salted boiling water until they float to the surface, then boil for an additional 1–2 minutes to ensure the filling is cooked through.
- → How can I achieve perfectly caramelized onions?
Cook sliced onions slowly over medium-low heat, stirring often, so they soften and develop a deep, sweet golden color without burning, which usually takes 20–25 minutes.
- → Can these dumplings be prepared in advance?
Yes, uncooked dumplings can be frozen on a tray before transferring to bags. This preserves their quality for up to 2 months and allows for convenient cooking later.