 Save Pin
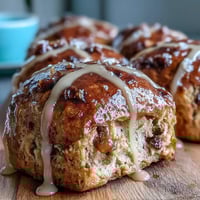
 My nephew was obsessed with Cookie Run Kingdom, and one afternoon he kept asking why his favorite character, GingerBrave, couldn't be a real cookie he could eat. So I spent an evening experimenting with spice ratios and molasses proportions, trying to capture that perfect balance of crispy edges and chewy centers that seemed to match his drawings of the little gingerbread hero. What started as a silly request became one of those kitchen projects where time disappears and suddenly you're covered in flour, laughing at how seriously you're taking cookie decoration.
I'll never forget watching my nephew's face light up when he bit into the first decorated batch, royal icing smudged across his chin as he declared they tasted exactly like they looked. His friends came over shortly after, and suddenly these cookies became the thing everyone wanted to make at their own houses, which meant I spent the next month answering texts about oven temperatures and whether ground cloves were actually necessary.
Ingredients
- All-purpose flour (2 1/4 cups): The foundation that gives your cookies structure; I always scoop and level mine rather than scooping straight from the bag because it prevents dense, tough cookies.
- Ground ginger (2 tsp): This is the star player that makes people immediately recognize what they're eating; don't skimp on quality here because stale ginger tastes dusty.
- Ground cinnamon (1 tsp): Adds warmth and complexity without overpowering the ginger.
- Ground cloves (1/4 tsp): Just a whisper of this keeps things interesting; too much turns it medicinal.
- Ground nutmeg (1/4 tsp): The secret ingredient that makes people ask what you did differently.
- Baking soda (1/2 tsp): Helps the molasses create that tender crumb.
- Salt (1/4 tsp): Balances all the spice sweetness so your teeth don't immediately hurt.
- Unsalted butter (1/2 cup, softened): Softened butter beats room temperature by a mile for achieving that light, fluffy base.
- Brown sugar (1/2 cup packed): The moisture and molasses notes in brown sugar amplify the gingerbread flavor.
- Granulated sugar (1/4 cup): Creates crispness at the edges while brown sugar handles chewiness.
- Egg (1 large): Your binding agent and the reason these cookies hold together without becoming dense.
- Molasses (1/3 cup): Non-negotiable; this is what separates real gingerbread from mediocre cookies, so use actual molasses and never swap it for honey or maple syrup.
- Vanilla extract (1 tsp): Rounds out all the spices and adds subtle sweetness.
- Royal icing and decorations (optional): This is where you channel your inner artist and make them look like actual Cookie Run Kingdom characters.
Tired of Takeout? 🥡
Get 10 meals you can make faster than delivery arrives. Seriously.
One email. No spam. Unsubscribe anytime.
Instructions
- Preheat and prep your space:
- Turn your oven to 350°F and line your baking sheets with parchment paper; this one minute of prep saves you from burned bottoms and cookies sticking.
- Combine your dry ingredients:
- Whisk together flour, ginger, cinnamon, cloves, nutmeg, baking soda, and salt in a medium bowl, making sure everything is evenly distributed so you don't bite into a pocket of pure cinnamon.
- Cream the butter and sugars:
- Beat softened butter with both sugars until the mixture looks pale and fluffy, which usually takes about 2 minutes with an electric mixer; this is where you trap air that makes cookies tender instead of dense.
- Build your wet base:
- Add the egg, molasses, and vanilla to your butter mixture and beat until everything looks combined and slightly glossy.
- Marry wet and dry:
- Gently fold or stir the dry ingredients into the wet mixture until just incorporated, being careful not to overmix because that's how you end up with tough cookies.
- Chill strategically:
- Wrap your dough in plastic and refrigerate for at least 30 minutes; cold dough is easier to roll out and less likely to spread into blobs in the oven.
- Roll and cut:
- On a lightly floured surface, roll dough to about 1/4 inch thickness and cut out gingerbread shapes, spacing them 2 inches apart on your prepared sheets.
- Bake with intention:
- Bake for 10 to 12 minutes until edges are set but centers still look slightly soft; they'll firm up as they cool and this timing prevents them from becoming hard hockey pucks.
- Cool with patience:
- Let cookies sit on the baking sheet for 5 minutes before transferring to a wire rack, which prevents them from breaking apart but also keeps them from becoming too soft.
- Decorate like you mean it:
- Once completely cool, pipe royal icing and add candies to make them look like GingerBrave or whatever character speaks to you.
 Save Pin
 There's something magical about watching someone taste a homemade gingerbread cookie after living on store-bought versions their whole life; they slow down mid-bite like they're experiencing flavor in a new way. That moment is exactly why I keep making these, even though the decoration part drives me up a wall.
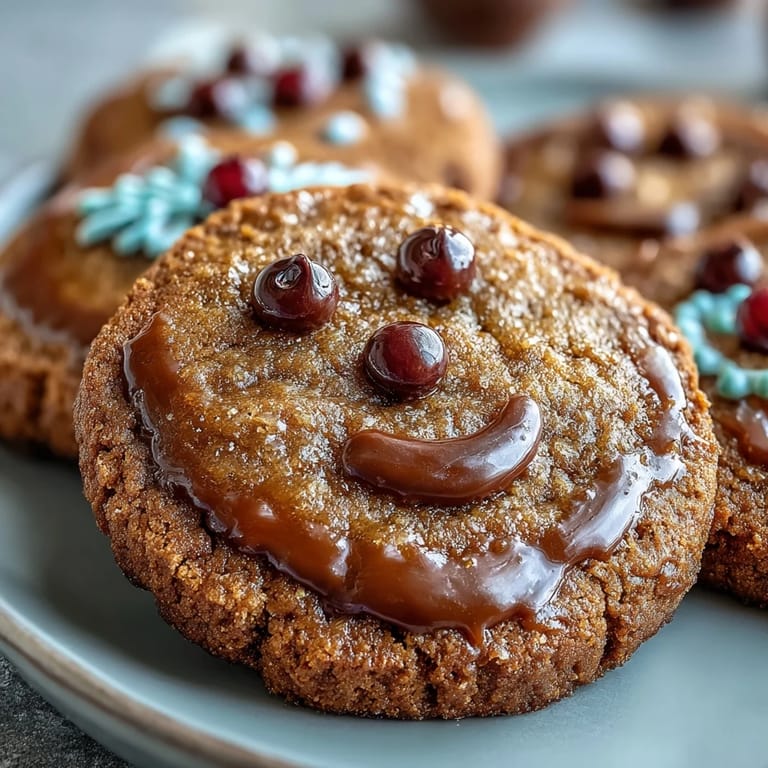
The Molasses Moment
When I first tested these cookies without molasses, using honey instead to save myself a trip to the store, I learned a hard lesson about shortcuts. The cookies tasted fine but lacked that deep, almost dark complexity that makes gingerbread feel like you're biting into autumn itself, which is why I now treat molasses as non-negotiable. The bitter-sweet richness it adds is genuinely irreplaceable.
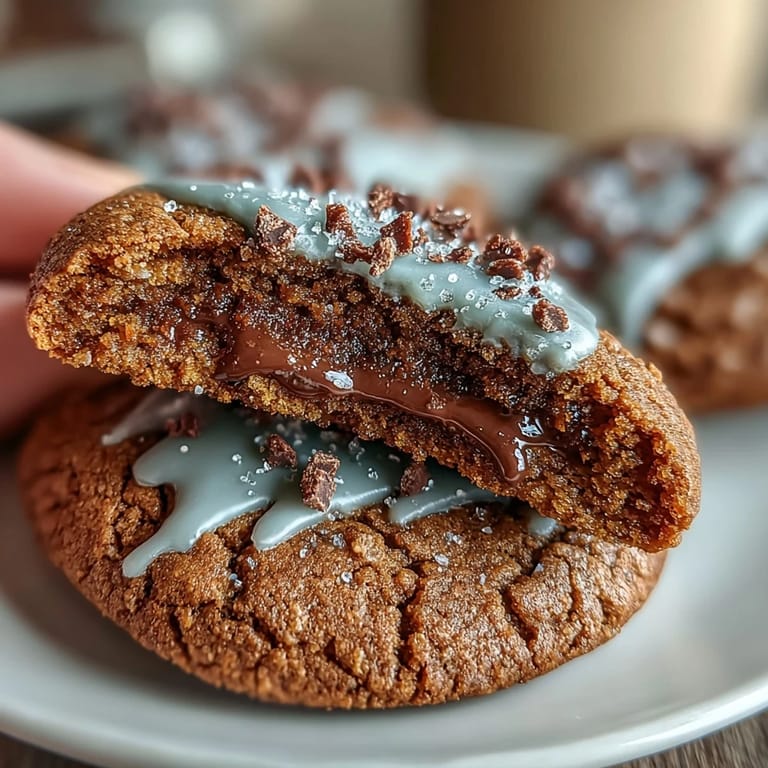
Texture Secrets Worth Keeping
The magic happens because you're using both brown and granulated sugar, which sounds overthinking it until you taste the difference. Brown sugar brings moisture and molasses flavor while granulated sugar creates crispy edges, and together they create this contrast that keeps cookies interesting from the first bite through the last crumb. I learned this by accident when I ran out of one type and got frustrated experimenting with ratios until I figured out what was actually happening.
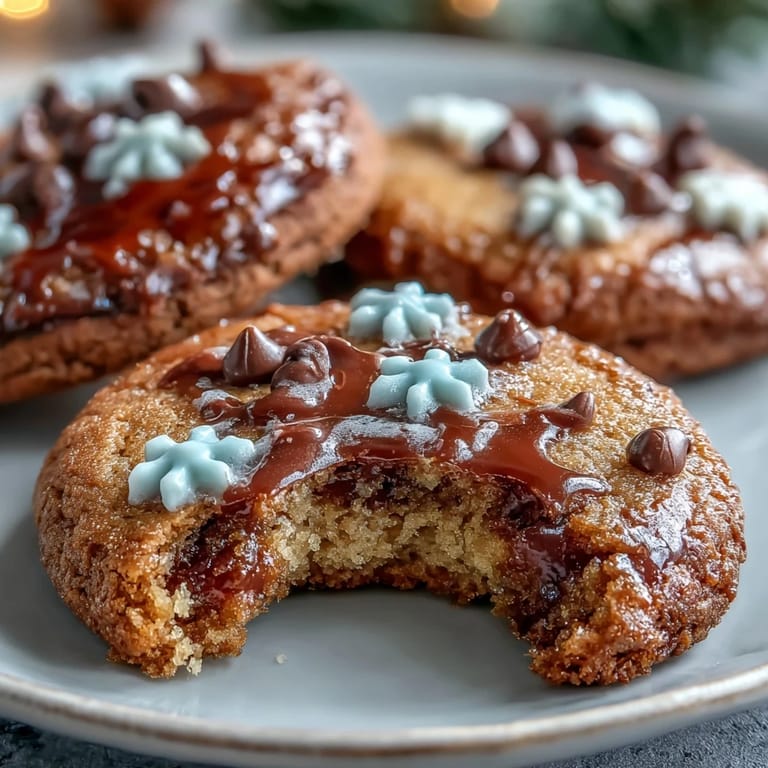
Decoration and Serving Ideas
The royal icing transforms these from simple cookies into little edible characters, which elevates them from Tuesday snack to weekend project territory. I've learned that keeping your royal icing thinner than you think actually makes piping easier, and letting it dry for at least an hour before stacking cookies prevents everything from becoming a sticky mess. Some of my best versions have been decorated minimally with just basic facial features, while others have gotten elaborate button eyes and colored cloaks.
- Make royal icing from scratch using egg whites and powdered sugar, or grab store-bought if you're short on time and energy.
- Mini chocolate chips work beautifully as buttons or eyes, and they stick to slightly damp royal icing without extra adhesive.
- These cookies pair perfectly with hot cocoa, spiced tea, or even cold milk if you're in a rebellious mood.
 Save Pin
 These cookies have somehow become the thing I make whenever I want to feel like I've done something thoughtful, which is probably ridiculous but also completely true. Every batch reminds me that sometimes the best recipes are the ones that make other people happy enough to ask you to make them again and again.
Cooking Questions & Answers
- → What gives the bites their signature flavor?
A blend of ground ginger, cinnamon, cloves, nutmeg, and molasses creates the warm, spiced taste typical of these bites.
- → How can I achieve a chewy texture inside?
Baking the dough slightly less than the maximum time helps retain a soft, chewy center while keeping edges crisp.
- → Can I decorate the bites differently?
Yes, royal icing and small candies or chocolate chips work well to create festive designs or simple toppings.
- → Is chilling the dough necessary?
Chilling the dough for at least 30 minutes makes it easier to roll and cut shapes, but it is optional.
- → What are good beverage pairings?
These spiced bites pair wonderfully with hot cocoa or spiced teas to enhance their holiday flavors.