 Save Pin
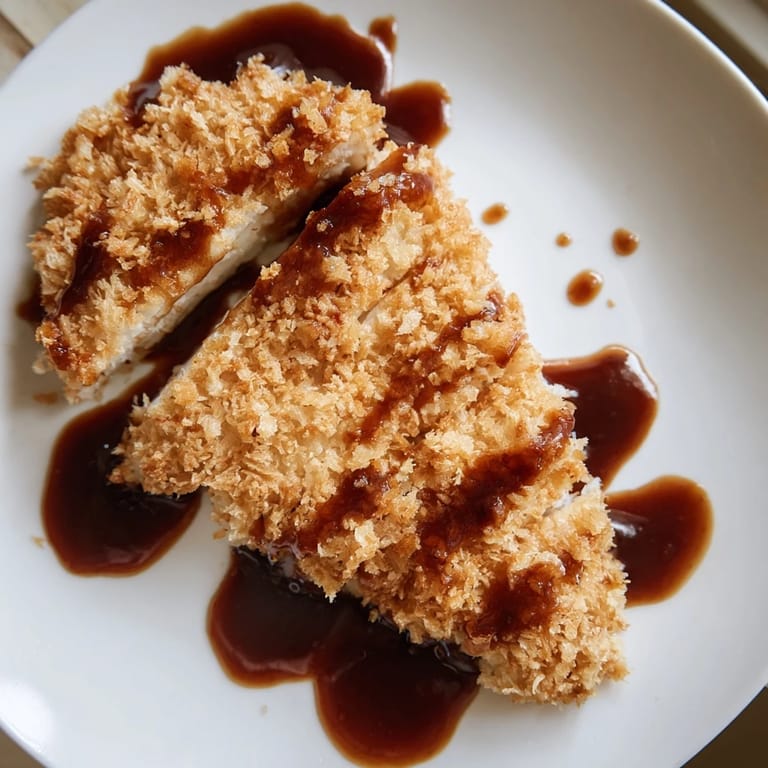
 My coworker brought chicken katsu to lunch one day, and I watched her slice into that golden crust to reveal perfectly juicy meat underneath. The tonkatsu sauce glistened on top like a glaze, and somehow three bites later I was asking for her recipe. She laughed and said it was easier than I thought, which turned out to be completely true—the magic is just in patience and panko, not complicated technique.
I made this for my sister on a random Thursday, and she brought her boyfriend expecting takeout but got homemade instead. Watching them both reach for seconds while barely looking up from their plates reminded me why simple, well-executed food beats complicated recipes every single time.
Ingredients
- Chicken breasts (4, about 150g each): Boneless and skinless keeps this lighter and faster—pound them even so they cook uniformly and stay tender through frying.
- All-purpose flour (1/2 cup / 65g): This first layer helps the egg adhere and creates structure for the panko to cling to.
- Eggs (2 large) mixed with water (1 tablespoon): The water makes the egg wash less thick and helps it coat smoothly without clumping.
- Panko breadcrumbs (1 1/2 cups / 90g): The secret to that shattering crunch—coarser than regular breadcrumbs and stays crispy longer after frying.
- Vegetable oil (1 cup / 240ml): Neutral oil with a high smoke point keeps the temperature stable and doesn't compete with the chicken's flavor.
- Ketchup (1/4 cup / 60ml): The sweet tomato base of tonkatsu sauce, milder than you'd expect since it balances with umami from soy and Worcestershire.
- Worcestershire sauce (2 tablespoons): Adds that savory depth that makes people ask what the secret ingredient is.
- Soy sauce (1 tablespoon): Brings salty, umami richness without overpowering the other flavors.
- Mirin (1 tablespoon) or honey as substitute: Sweet mirin rounds out the sauce with subtle depth—honey works fine if you can't find it, just use regular honey.
- Dijon mustard (1 teaspoon): A tiny amount adds brightness and prevents the sauce from tasting flat.
- Sugar (1 teaspoon): Balances the tanginess and pulls all the flavors together.
Tired of Takeout? 🥡
Get 10 meals you can make faster than delivery arrives. Seriously.
One email. No spam. Unsubscribe anytime.
Instructions
- Pound the chicken to even thickness:
- Place each breast between plastic wrap and use a meat mallet or rolling pin to gently but firmly pound it to about 1/2 inch thick. This sounds simple but makes the biggest difference—uneven chicken means dry edges and raw centers, so take the 30 seconds to do it right.
- Season both sides:
- Sprinkle salt and pepper generously on each side, letting it sit for a minute so it adheres instead of brushing right off during breading.
- Set up your breading station:
- Line up three shallow dishes with flour, beaten egg mixed with water, and panko in order. Having everything ready means you won't fumble mid-coat and the breading stays organized instead of becoming a mess.
- Dredge in flour:
- Coat each chicken breast in flour, shaking off excess so it's just a light, even layer. Too much flour gets gummy when it hits the egg.
- Dip in egg wash:
- Submerge fully in the egg mixture, lifting it out slowly so excess drips back into the bowl. This sticky layer is what makes the panko grip instead of sliding off during frying.
- Press panko on firmly:
- Coat completely in panko, then gently press the breadcrumbs into the surface with your fingers so they adhere during cooking instead of falling off. If you let the breaded chicken rest for 10 minutes, the coating sets even better.
- Heat oil to the right temperature:
- Medium heat should get the oil shimmering without smoking—you're aiming for about 170°C (340°F) if you have a thermometer. If a tiny piece of panko sizzles immediately when dropped in, you're ready.
- Fry until golden and crispy:
- Add chicken to the pan (work in batches so you don't crowd it) and fry for 3 to 4 minutes per side. The crust should turn deep golden and sound crispy when you tap it with tongs.
- Drain on a rack or paper towels:
- Transfer immediately after frying so steam doesn't soften the crust. A wire rack is better than paper towels because air circulates underneath.
- Make tonkatsu sauce:
- Whisk all sauce ingredients together in a small bowl until smooth—it takes about 30 seconds and tastes so much better than bottled.
- Slice and serve:
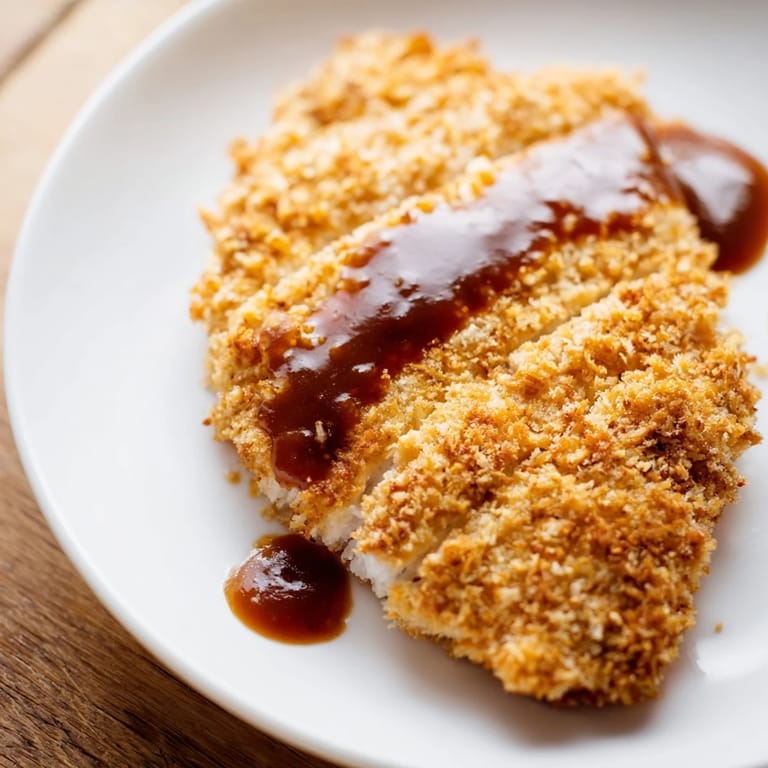
- Cut each cutlet into strips, arrange on a plate, drizzle or dip in tonkatsu sauce, and serve with cabbage, lemon, and rice if you like.
 Save Pin
 My friend's kid asked for seconds and then thirds, which was the first time I'd ever seen that kid eat something green (the cabbage) without being forced. That moment taught me that good food doesn't need to be complicated or trendy—it just needs to actually taste good.
The Secret to Panko's Crunch
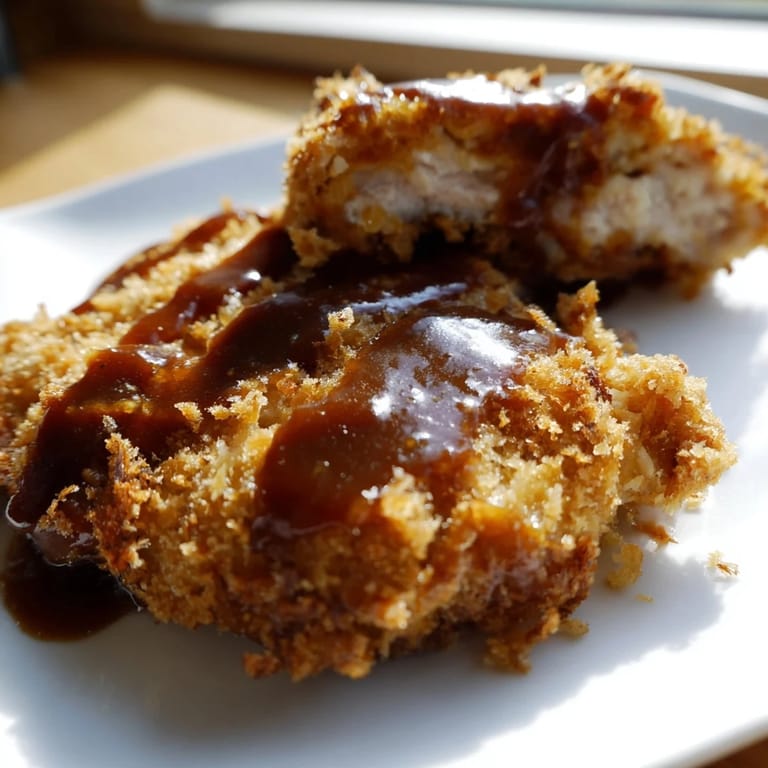
Panko wins over regular breadcrumbs because the crumbs are larger and flakier, so they fry up hollow instead of dense. The texture stays shattered and crispy even after sauce touches it, unlike fine breadcrumbs that compress into a soggy mess. This is why katsu looks and sounds fancy even though you're just frying chicken.
Why Pound the Chicken First
Pounding does two things: it breaks down the muscle fibers so the meat stays tender even after the high heat of frying, and it creates an even thickness so everything cooks at the same rate. Without pounding, you get a cooked-through cutlet on one end and raw or overdone on the other. It's the difference between good and frustrating.
Tonkatsu Sauce Variations and Storage
This sauce tastes even better a day later once the flavors settle and marry together, so if you want to make it ahead, it keeps for a week in the fridge. Some people add a splash of rice vinegar for extra tang, or a touch of ginger for warmth—taste as you go if you experiment. These adjustments are forgiving since you're balancing a sauce, not baking something precise.
- Double the sauce recipe if you're serving this to people who love dipping sauces (you probably will be).
- Try a squeeze of fresh lime juice instead of lemon for a different brightness.
- If you make the sauce too sweet, add more Worcestershire or soy sauce to balance it back out.
 Save Pin
 This dish has become my answer when I want to impress someone with homemade food but don't have hours to spend cooking. It's proof that simple technique and good ingredients beat complicated recipes.
Cooking Questions & Answers
- → How do I prevent the panko coating from falling off?
Pat the chicken dry before breading and press the panko gently but firmly onto the egg-coated surface. For best results, let the breaded cutlets rest for 10 minutes before frying—this allows the coating to set and adhere better to the chicken.
- → What oil temperature is best for frying?
Heat the oil to 170°C (340°F). Use a thermometer to ensure accuracy. If the oil is too cool, the coating will absorb excess oil and become greasy. If too hot, the outside will brown before the inside cooks through.
- → Can I use a different meat for this preparation?
Yes, pork cutlets work wonderfully and create the traditional tonkatsu variation. Pound them to the same thickness as the chicken. Turkey or veal cutlets are also excellent alternatives with similar cooking times.
- → How should I store and reheat leftovers?
Store cooked katsu in an airtight container in the refrigerator for up to 3 days. Reheat in a 180°C oven for 5-7 minutes to restore crispiness, rather than using a microwave which can make the coating soggy.
- → What can I substitute for mirin in the tonkatsu sauce?
Honey, brown sugar, or a mixture of sugar and water work as substitutes for mirin. Use the same amount (1 tablespoon) to maintain the sauce's sweetness and gloss. The sauce will be slightly less authentic but equally delicious.
- → Is shallow frying the same as deep frying?
Shallow frying uses about 1-2 inches of oil and requires flipping the food halfway through cooking. Deep frying submerges food completely. Shallow frying is ideal for cutlets as it uses less oil while still achieving a crispy exterior and cooked interior.